Before and After Image Maker
Making your own before and after images can take time and effort—and you don’t have much to spare as a hardworking service business owner. Our free before and after template makes it easy to create your own images and use them to advertise your business.
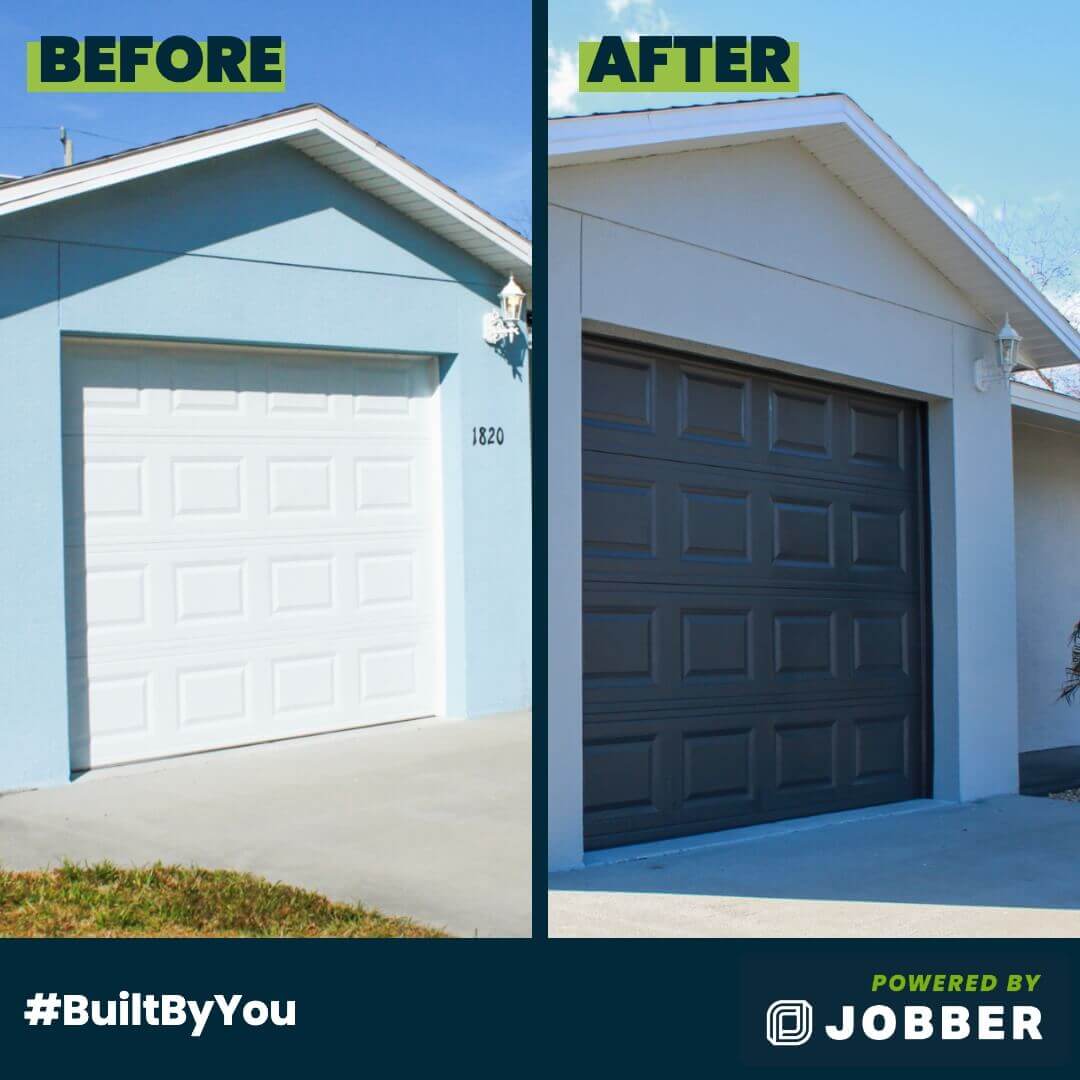
Just upload a “before” photo and an “after” photo of your work, and Jobber’s before and after picture maker will combine them into one easy-to-share image like this:

How to use Jobber’s before and after picture maker
Follow these simple steps to create your own images using Jobber’s free before and after image maker:
- Go to our before and after photo editor.
- Click inside the “Before” and “After” areas to select your before and after pictures from your phone or computer. For best results, use portrait, or vertically cropped images.
- Click and drag your images within the “Before” and “After” areas to reposition them as needed.
- Click “Save Image” to save your before and after picture to your device.
- Click “Reset” to clear the before-after template and make another image.
Why make before and after photos
Having before and after images show potential clients the true value of your services.
Here’s why you should make before and after images for your service business:
- Showcase your skills and the effectiveness of your services by using before and after images on your marketing materials.
- Build trust with potential clients and show them why they should invest in your services.
- Provide a visual record of the work that was completed. Attach these images to your client file and share them on your invoices to show your clients the work was completed.
- Improve your customer satisfaction. Happy clients are more likely to refer your services to friends and family.
- Stand out from the competition by demonstrating your work through before and after photos.
4 ways to use your before and after photos
Now that you know how to create before and after photos, you’re ready to use them. Here are some ideas to help you get started:
- Use pictures in your marketing materials. Show before and after photos of your work on your flyers, door hangers, postcard and email marketing, and other widespread advertising pieces.
- Add photos to your business website to prove the quality of your work and show potential clients what you can do for them (and offer online booking to close the sale).
- Share images on social media. Post your before and after images on Facebook, Instagram, and Twitter so your followers can see your services in action.
- Use photos on your business listings. Upload your new before and after pictures to your Google Business, Yelp for Business, Bing Places, and other online business listings, as well as any lead generation sites you’re using.
Ready to make your business stand out with before and after photos? Try our free before and after photo editor to create professional images that are ready to share with just a few clicks.
Originally published in November 2021. Last updated on November 6th, 2023.