
Email marketing is the easiest way to reach existing customers or cold leads. You can use it to share new promotions, services, or business updates to keep you top of mind.
But you’ll need to create an email list to ensure your emails reach the right people.
Follow these steps to learn how to create an email list for your service business to stay in touch with your clients and win more jobs.
Start building a successful email list from scratch:
What is an email list?
An email list is a database of customers you can send email communications to from your service business. For example, updates about new products or services, seasonal promotions, or helpful post-job tips.
Each contact in your list should include both a name and email address.
Building an email list can help you to:
- Track and analyze data like open rates so you can tweak your strategy
- Send targeted emails to more than one person at a time
- Automate marketing campaigns
Types of email lists
Email lists can be organized into different categories depending on the customer. For example, you could separate your email marketing campaigns into:
- New leads that reach out through your website contact form or email
- Existing customers who have worked with you before
- Service types, like your mowing email list vs snow removal email list
- Special interest clients, like those who prefer eco-friendly cleaning supplies or premium services
How to set up an email list
Building an email list is a fast and efficient way to start reaching out to your customers to share important news and updates. Follow these steps to create a successful email list that helps you generate leads, win jobs, and promote your business.
1. Choose an email marketing platform
While you can build an email list manually, it’s not recommended because it’s time-consuming and prone to human error. Instead, finding an email marketing platform that works for your goals and budget is the best place to start.
Some of the most popular email marketing platforms for service business owners include Mailchimp and Constant Contact.
Or, use Jobber Campaigns to quickly create and send professional, branded email campaigns that send the right message to the right clients—every time.
Jobber’s email marketing software works to:
- Separate customers into different groups based on things like the services they booked or where they are in your sales funnel
- Provide you with professional email templates so you can easily add your branding
Some platforms will offer basic email management, while others will offer advanced options. When choosing which platform to use, consider:
- Your short- and long-term goals
- What features it has
- How easy it is to use
- Whether it can integrate with your current CRM
- How much it costs
- User reviews
- If it offers good customer support
Pro Tip: Make sure to go with a platform that prioritizes CAN-SPAM Act compliance and security to keep you in the clear and protect your customers’ data.
2. Import your contact list
To start creating your email list, import any existing contacts from your CRM (or address book) into your new email marketing platform. With Jobber Campaigns, you can pull all your existing contacts from your CRM, so you don’t have to start from scratch.
Based on CAN-SPAM regulations, these should be people you already have a business relationship with, like past and present customers or people who have reached out for a quote.
You can start sending emails to these people right away, but make sure your emails include an opt-out button and an option to unsubscribe.
3. Attract new email subscribers
The point of an email list isn’t only to stay in touch with customers you already know. It’s also a way for you to generate new leads and win more jobs, which starts with attracting new subscribers.
The more you build your email list, the more potential it has to become a valuable part of your marketing strategy.
Get more email contacts by:
Adding sign-up options on your website
Advertise your newsletter on your website by adding a signup form to your contact page, next to your social media links, and on your blog, if you have one. That way, anyone who visits your website will have the option to stay in touch.
You can also add a small ad that appears on a computer screen or smart device when a customer’s browsing your site (called a pop up).
Offering incentives
Lots of businesses use incentives to expand their email subscribers. For example, a one-time 10% discount or promotional pricing for anyone who signs up. This not only encourages prospective clients to opt-in to your email list but to book a service, quickly turning a lead into a paying customer.
Other incentives can include free products, exclusive services, or contest entries.
Collecting emails on the job
When you finish a job, let the client know about your newsletter before you leave, especially if it includes helpful information that’s relevant to them, like a blog post about how to care for their lawn after a new sod installation or caring for their new stainless steel appliance.
Leveraging social media
Post about your newsletter on your social media pages, like Facebook and Instagram. Just because a customer follows you doesn’t mean they know you have a newsletter. Spread the word every so often by letting customers know they can access promotions, educational information, and more by signing up for your email list.
You can also add a newsletter subscription button to your social media pages.
Making the most of your existing subscribers
Develop an email marketing referral program where current subscribers can get a small discount or other incentive for every successful sign-up they refer to you.
Updating your email signature
Your email signature is a great place to promote your social media pages and email list. You can even include an incentive as part of your signature, like ‘Sign up for our email newsletter and get 10% off your first service’ to make it even more appealing.
Hosting a giveaway
If you’re looking to get a lot of new subscribers fast, try offering every new subscriber an entry into a free giveaway for a limited time. The prize could be a free product or service or something unrelated to your business, like a gift card for a local restaurant or Amazon.
Should I pay for email subscribers?
No, you should never pay for mailing lists or subscribers. While it’s OK to offer discounts and promotions in exchange for sign-ups, using email addresses from contacts who have not interacted with your business or chosen to opt-in to receive emails from you is considered spam.
If you do pay for email addresses, you risk being flagged for noncompliance, which can result in hefty fines and legal repercussions.
4. Start developing your email marketing campaign
With an email list in hand, you can build an email marketing campaign for your service business.
The most common types of email marketing campaigns are:
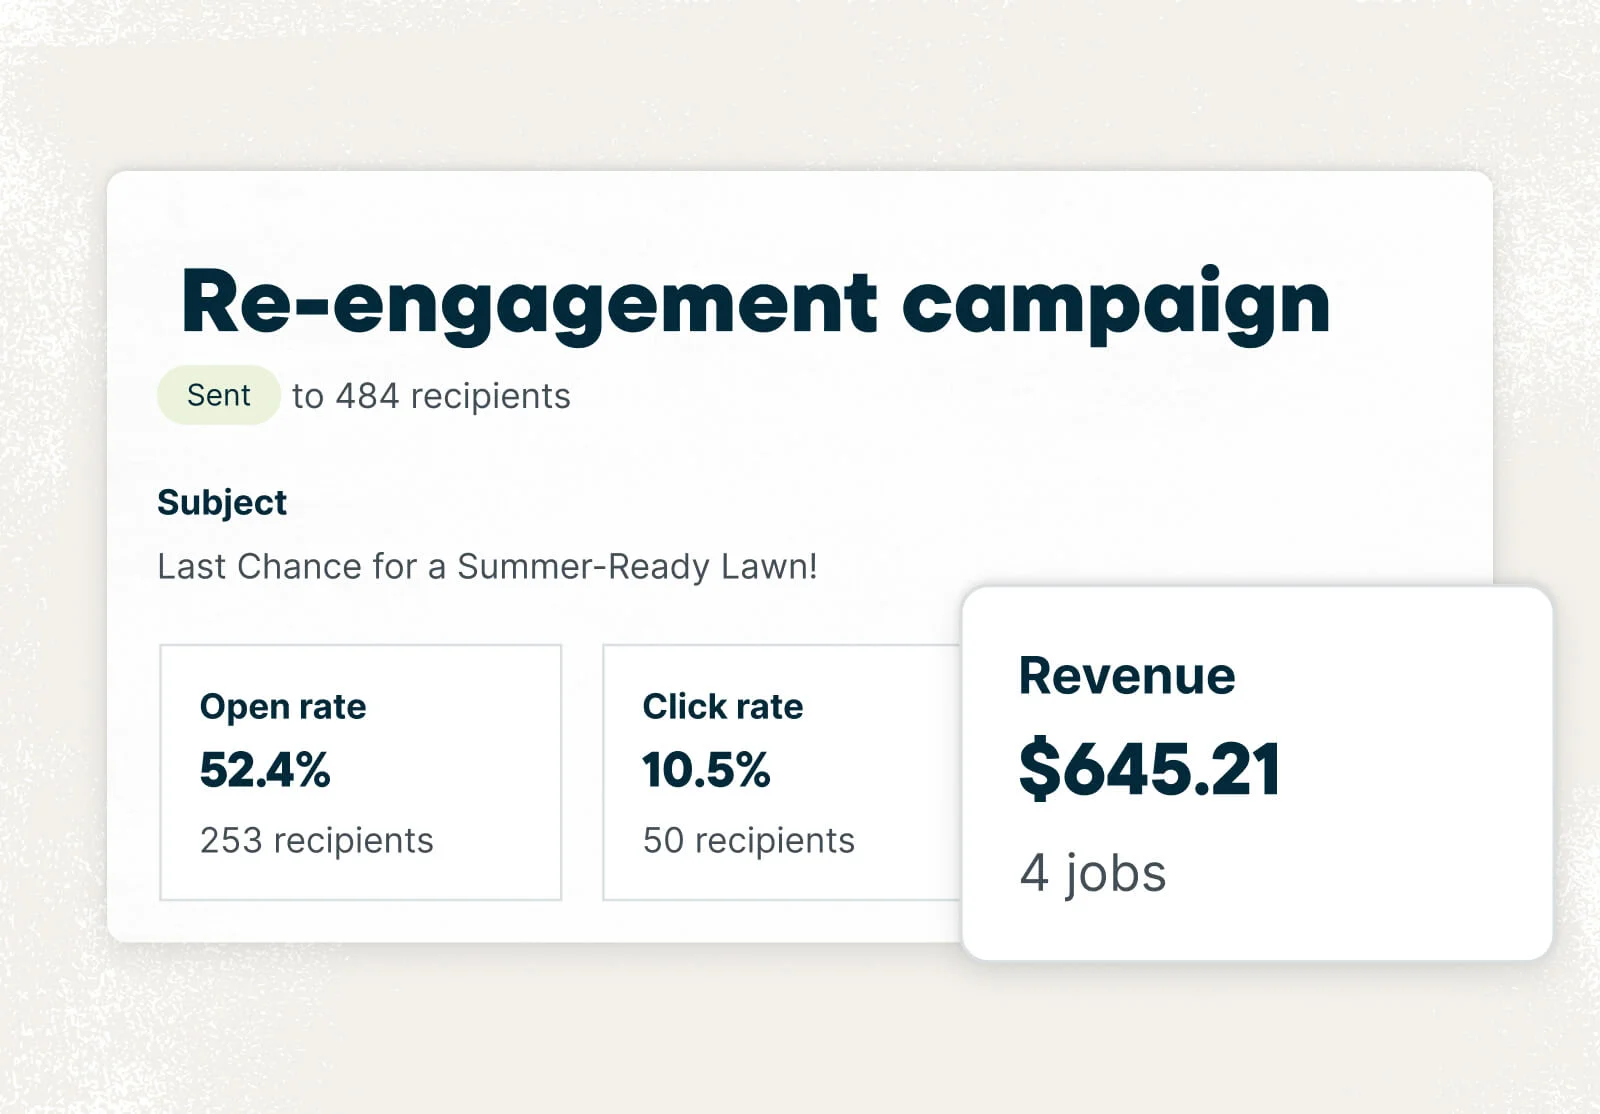
- Re-engagement campaigns for customers you’ve worked with before
- New service campaigns for when you expand your offerings
- Seasonal campaigns, like when you switch from lawn care to snow removal
- Educational campaigns, like post-service maintenance and care or FAQs
When you use Jobber to create email campaigns, you can choose from premade templates that are built for specific goals and customers—and that includes your company branding.
READ MORE: Email campaign examples and tips to upgrade your marketing.
What are the benefits of email lists?
Creating an email distribution list comes with many benefits for your service business. By adding email marketing to your growth strategy, you’ll be able to:
- Stay connected with past and current customers. In turn, it boosts your customer retention
- Generate new leads and provide them with targeted content that encourages them to book a job
- Automate campaigns based on specific triggers, like sending a welcome email when someone first signs up or a review request after a job
- Track which campaigns are successful based on how many customers open and interact with your emails
- Get feedback about your services and customer experience through surveys and polls.
- Upsell your services and promote tiered pricing packages.
Jobber’s email marketing software can help you to grow, manage, track, and automate your mailing list, helping you take advantage of these benefits without any of the heavy lifting.
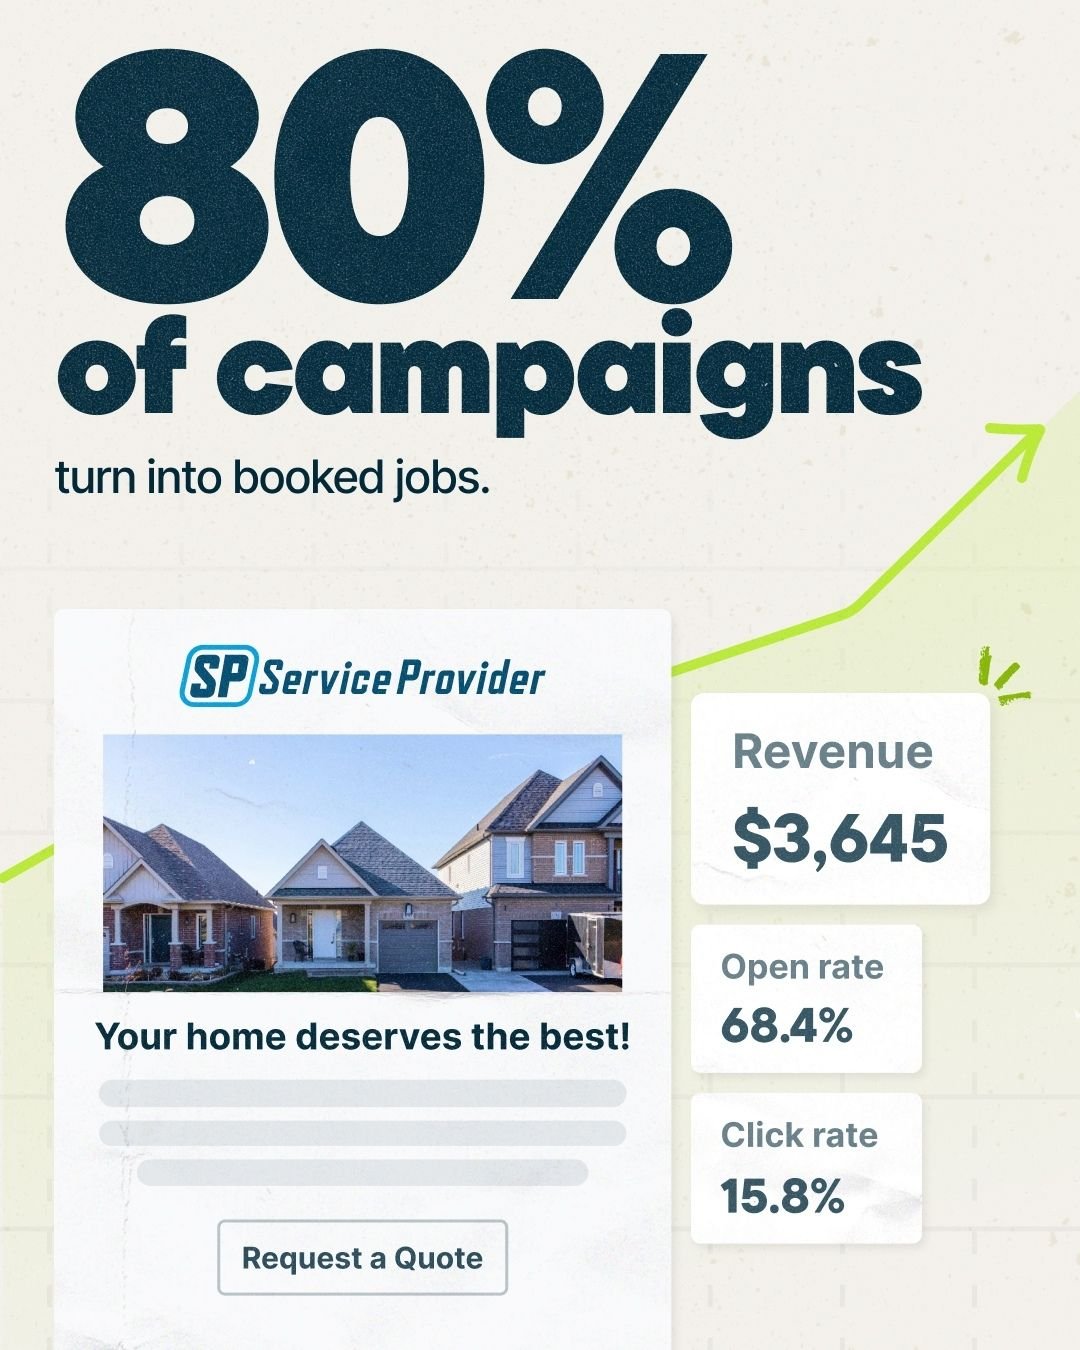
Using the tracking data from Jobber Campaigns, you can review your campaign’s success to see which campaigns have generated the most revenue.
By monitoring your email marketing efforts and staying on top of what’s working, you have a better chance of building strong email lists that target the right customers with the right messages.
Originally published in February 2020. Last updated on October 23, 2024.